


Crafting Chaos – Make Your Own Cardboard Box Template
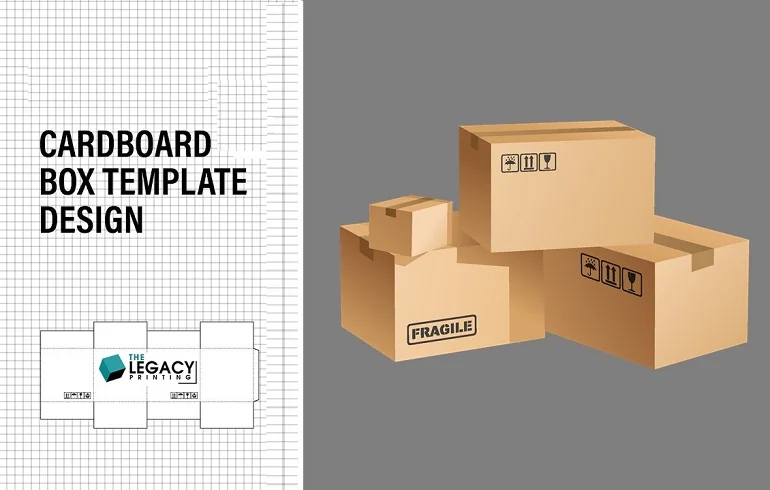
So, you’ve got a pile of stuff, and you need a box for it. Maybe it’s your collection of rubber ducks or your treasured assortment of antique spoons. But oh, the box dilemma! You don’t have the right-sized box, and the ones you do have are either too small or too big. Fear not, brave box-seeker, for today we embark on an epic quest to create your very own cardboard box template!
The Quest for the Perfect Box Template
First things first, you’ll need some materials for this adventure:
Cardboard: The hero of our story. Find a piece that’s as flat as your aunt’s pancake recipe.
Ruler: Your trusty guide through the wilderness of measurements.
Pencil: To leave your mark on the world, or at least on the cardboard.
Scissors: The mighty Excalibur of the crafting realm.
Tape: The magical bonding agent that holds your creation together.
Now, it’s time to get started.
The Art of Box Dimension Wrangling
Measure Twice, Cut Once: Measure the dimensions of your precious cargo. Not with a spoon, though; use the ruler. You’ll need the length, width, and height of your loot. Write these numbers down, and don’t forget or confuse them with your grocery list.
Turn Those Numbers into Magic: Create your box template by drawing a rectangle on the cardboard. The length should match your precious cargo’s length, the width should match its width, and the height… well, you get the idea. Imagine you’re a wizard conjuring a cardboard portal for your treasures.
Cutting is Like Saving the Princess: Cut along the lines you’ve drawn. Your scissors are your mighty sword, so wield them with precision. If your cardboard protests with a funny noise, it’s probably telling you a cardboard joke.
Box Assembly: Where the Magic Happens
Now, let’s assemble your box template into a real box. Here’s how:
Fold it Like a Pro: Along the length of your cardboard, create two parallel score lines (these are like the dotted lines on a treasure map, but without the “X marks the spot” part). These will be your box’s sides.
Embrace the Flaps: On one of the shorter ends, cut along the score lines, leaving two flaps. These will be your box’s lid.
Tape It Like You Mean It: Fold your box along the score lines and tape the sides together. Make sure it’s as snug as a bug in a rug. If your tape gets tangled, just remind it who’s boss.
Lid Duty: Fold your flaps down and tape them together. Your lid is like the drawbridge to your treasure castle. Secure it well, so no sneaky dragons (or curious siblings) can get in.
The Grand Unveiling: Your Very Own Cardboard Box!
Behold, your masterpiece is complete! You’ve created a cardboard box template and turned it into a real, functioning box. Now, go forth and box all the things! Whether it’s rubber ducks, antique spoons, or your secret collection of fuzzy socks, your DIY cardboard box is ready to cradle your treasures.
Just remember, every time you make a box, you’re one step closer to becoming the Box-Master, guardian of all things boxy. And in the world of crafting, that’s a title worth having. Happy box-making, intrepid adventurer!